
Have you ever walked into your kitchen only to find a puddle of water pooling under your freezer? It’s a frustrating situation that can lead to bigger problems if left unchecked. You’re not alone—this is a common issue many homeowners face.
Key Takeaways
- Common Causes: Water pooling under your freezer can result from clogged defrost drains, damaged door seals, or frost buildup, which disrupts normal drainage and leads to leaks.
- Symptoms to Watch: Excess water accumulation and frost buildup are key indicators that your freezer may have a leakage issue, necessitating prompt investigation and action.
- Inspection Steps: Systematically check the drainage system for blockages and inspect door seals for any damage using methods like the “dollar bill test” to ensure proper sealing.
- Maintenance Matters: Regularly clean your defrost drain and inspect door seals to prevent clogs and maintain proper insulation, which helps avert leaks.
- Temperature Control: Keeping your freezer at the recommended temperature of 0°F (-18°C) is crucial for preventing ice buildup and subsequent water leakage.
- Proactive Approach: Limit door openings, monitor for temperature fluctuations, and consider utilizing frost-free settings to reduce the risk of leaks and enhance your freezer’s efficiency.
Common Causes Of Freezer Leaking Water On Floor
Discovering water under your freezer can stem from several sources. Understanding these common causes helps you pinpoint the issue and take action quickly.
Recommended Products

1.Package included: 1 set 819043 Freezer Defrost Drain Hole Heat Probe Kit
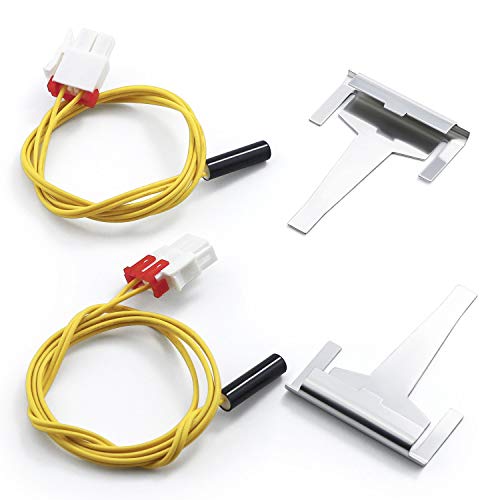
【INFORMATION】:DA61-06796A Refrigerator Drain Tube Clip Evaporator is located at the bottom of the defrost guide, so it gets hot here, which helps defrost and prevents the drain from freezing. This completely helps your refrigerator perform well in the absence of water collected inside the refrigerator

Rrefrigerator condensate drain pan: Our refrigerator condensate drain pan offers highefficiency collection of defrost and wastewater, keeping your fridge interior and surroundings hygienic and moisturefree
Defrost Drain Clogs
Defrost drains can clog up with ice or debris. This blockage prevents water from properly exiting your freezer during the defrost cycle. When this happens, water pools instead of draining. You can check the defrost drain by following these steps:
- Locate the drain: Usually found at the bottom of the freezer.
- Inspect for blockages: Look for ice or food particles obstructing the pathway.
- Clear the drain: Use warm water to thaw ice or a small brush to remove debris.
Regular maintenance can prevent this issue. Ensuring that the drain remains clear helps keep your freezer functioning smoothly.
Damaged Door Seals
Damaged or worn door seals can lead to condensation. When the freezer isn’t sealed tightly, warm air enters, causing frost buildup. This frost can eventually melt and create water on the floor. To address door seal issues:
- Check for gaps or tears: Look closely at the seals around the door.
- Test the seal: Close the door on a piece of paper. If you can pull it out easily, the seal might be faulty.
- Replace if necessary: Consider replacing damaged seals to restore proper insulation.
Regularly inspecting your door seals can help maintain the efficiency of your freezer and prevent water leakage.
Symptoms To Look For
Recognizing the signs of a freezer leaking water helps you address issues early. Look for these common symptoms.
Excess Water Accumulation
Excess water pooling around the freezer base indicates a leak. You might notice puddles that grow larger over time. If the floor is consistently damp, it’s crucial to investigate the source. Check for overflowing ice trays or melting frost, as these can also contribute to water accumulation. Observing this early prevents damage to the floor.
Frost Buildup
Frost buildup affects the interior compartments of your freezer. If you find thick layers of frost on the walls, it suggests a problem. This frost can block vents, disrupting airflow and causing defrosting issues. Excessive frost leads to water pooling when it melts. Regularly inspect for frost and keep an eye on temperatures to ensure optimal performance.
Steps To Diagnose The Issue
Start by identifying the source of the water leak under your freezer. A systematic approach can help diagnose the problem accurately.
Recommended Products

Refrigerator Water Line Cleaner Kit: Refrigerator drain cleaning tool not only is it used for fridge water line cleaner, be used for water dispenser cleaner, aquariums, filtration systems, long tube brush cleaner hose/glass tubes clog, and even complex drain hole cleaner with ease.
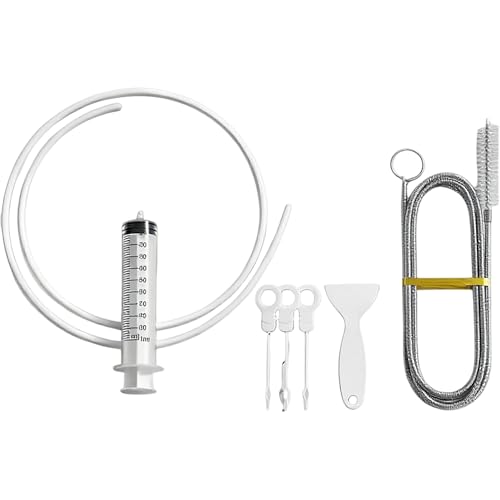
【7-Piece Complete Cleaning Kit】All-in-one solution for fridge drain clogging, including 60IN long flexible brush, flexible hose, syringe, plungers and shovel. One purchase covers all your refrigerator drain cleaning needs, no extra tools required, saving time and money.

"Premium Stainless Steel & Durable Construction Crafted from high-quality, rust-resistant stainless steel, this drain cleaner is built for long-lasting performance. The sturdy yet flexible design easily navigates pipe bends without breaking, ensuring reliable clog removal for years"
Inspecting The Drainage System
Examine the drainage system first. Locate the defrost drain, usually found at the back or bottom of the freezer.
- Check for Clogs: Inspect the drain for any debris or ice buildup that might obstruct water flow.
- Clear Any Blockages: If you find a blockage, you can use warm water or a vacuums to remove it.
- Test Drainage: Once cleared, pour a small amount of water into the drain to ensure it flows down properly.
- Look for Leaks: After testing, check surrounding areas for leaks.
A functioning drainage system prevents water pooling.
Checking Door Seals And Gaskets
Inspect the door seals and gaskets next. These components play a critical role in maintaining the freezer’s temperature.
- Conduct a Visual Check: Look for gaps, tears, or damage along the seals.
- Perform the Dollar Bill Test: Close the freezer door on a dollar bill. If you can easily pull it out, the seal needs attention.
- Clean the Seals: Wipe the gaskets with warm, soapy water to remove dirt that might inhibit a proper seal.
- Replace if Necessary: If the seals are compromised, replace them to prevent air leaks.
Well-maintained door seals help reduce condensation and water buildup.
Prevention Tips
Maintaining your freezer properly can prevent leaks and water pooling on the floor. Implement these strategies to keep your appliance in top condition.
Recommended Products

Superior Silicone Construction: Made with exceptional quality silicone material, our Mini Fridge Drip Tray guarantees long-lasting performance and durability, bringing you a solution that lasts.

【Prevent Water Overflow】This is a refrigerator drip tray made of high quality silicone,This is a refrigerator drip tray made of high quality silicone, used to capture the possible refrigerator drip, condensation, large capacity and not easy to spill, filled with water into the sink,Keep the refrigerator tray clean and tidy.
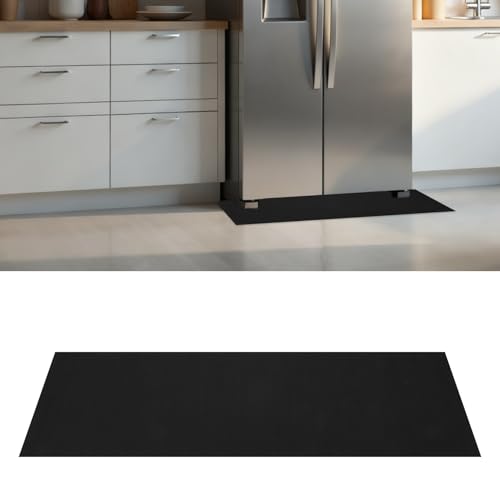
Effective Spill Protection: This refrigerator spill mat measuring 37.4" x 8.7" is designed to catch leaks, drips, and stains from under mini fridges and freezers. It keeps your floor dry and clean while preventing water damage, making it an essential floor protector for your appliances.
Regular Maintenance Practices
- Clean the Drain: Ensure the defrost drain is free of clogs. Regularly flush it with warm water to prevent ice buildup.
- Inspect Door Seals: Check the door seals and gaskets for wear and tear. Clean them with a mild soap solution to remove dirt and ensure a tight seal.
- Maintain Air Circulation: Keep vents inside the freezer unobstructed. Avoid overpacking your freezer to allow airflow, which helps maintain proper temperatures.
- Check Ice Trays: Regularly empty ice trays to avoid overflow. Ensure they’re not blocked by other items that might lead to spills.
- Set the Right Temperature: Keep your freezer temperature at 0°F (-18°C) to ensure optimal performance. Use a thermometer to verify accuracy.
- Avoid Frequent Opening: Limit opening the freezer door frequently. Each time you open it, warm air enters, which can lead to condensation and potential leaks.
- Watch for Temperature Fluctuations: Observe any unusual temperature spikes. If the temperature rises unexpectedly, inspect for issues like compressor failure or power loss.
- Consider Use of Frost-Free Settings: If available, use the frost-free function on your freezer. This feature helps minimize ice buildup, reducing the chance of leaks from melting frost.
By following these prevention tips, you can maintain your freezer’s efficiency and prevent frustrating leaks.
Conclusion
Dealing with a leaking freezer can be a hassle but staying proactive makes all the difference. By regularly checking for clogs and inspecting door seals you can prevent those frustrating puddles from forming. Remember that small issues can lead to bigger problems if left unchecked so don’t hesitate to take action when you notice excess water.
Keep an eye on your freezer’s performance and maintain it with simple practices. With a little effort you can ensure your freezer runs smoothly and efficiently while keeping your kitchen dry and tidy. You’re in control of your appliance’s health so make it a priority to address any signs of leaks right away.
Frequently Asked Questions
What causes water to pool under my freezer?
Water pooling under your freezer can be due to clogged defrost drains, damaged door seals, or excess frost buildup. Clogged drains prevent water from draining during the defrost cycle, while damaged seals can lead to condensation. Regular inspections are crucial to diagnose the cause early.
How can I fix a clogged defrost drain?
To fix a clogged defrost drain, start by locating the drain at the back of your freezer. Clear any visible debris or ice buildup. You can use warm water to flush it out if necessary. Ensure proper drainage to prevent future pooling.
How do I check the door seals on my freezer?
To check the door seals, visually inspect them for gaps or tears. You can also perform the dollar bill test: close the freezer door on a dollar bill and try to pull it out. If it comes out easily, the seal may be damaged and needs replacing.
What symptoms indicate a leaking freezer?
Key symptoms of a leaking freezer include excessive water accumulation around the base, frost buildup inside, and fluctuating temperatures. It’s essential to investigate these signs quickly to prevent potential damage and maintain efficiency.
What preventive measures can I take for my freezer?
To prevent leaks, regularly clean the defrost drain, inspect and clean door seals, maintain proper air circulation, and monitor ice trays for overflow. Set your freezer temperature to 0°F (-18°C) and limit door openings to reduce condensation.

Hey, I’m Jake. I focus on cooling systems at Appliance Mastery, like fridges, freezers, and air conditioners.
I’ve worked in appliance repair for more than ten years and I’m certified through NASTeC. I’ve seen just about every fridge issue you can imagine.
My goal is to help you fix problems without stress. Whether it’s a freezer that won’t cool or an AC that keeps beeping, I’m here to walk you through it.