
Understanding the Issue with the Samsung Dryer Belt
Fixing a Samsung dryer belt is a common repair task that can save you time and money. Dryer belts are essential components that help rotate the drum to dry your clothes efficiently. If you’re facing issues with your dryer belt, here’s what you need to know:
- Symptoms of a Faulty Belt:
- Dryer Not Tumbling: A worn-out belt can cause the drum not to spin.
- Unusual Noises: Squeaking or screeching sounds may indicate belt problems.
- Importance of Prompt Repair:
- A malfunctioning belt can lead to inefficient drying and potential damage to other components.
- Promptly addressing the issue can extend the life of your Samsung dryer.
- DIY vs. Professional Help:
- With the right tools and guidance, replacing a dryer belt can be a DIY project.
- If you’re unsure or uncomfortable, it’s best to seek professional assistance.
- Safety Precautions:
- Before you start any repairs, unplug the dryer to avoid accidents.
- Familiarize yourself with the specific model of your Samsung dryer for accurate repairs.
- Next Steps:
- Identify the Problem: Check the belt for signs of wear or damage.
- Get the Right Replacement Belt: Ensure you have the correct belt for your model.
- Follow a Guide: Use online resources or manuals for step-by-step instructions.
- Testing the Repair:
- After replacing the belt, run a test cycle to ensure the dryer functions properly.
- Seeking Assistance:
- If you encounter challenges during the repair, don’t hesitate to consult a professional for help.
- Maintenance Tips:
- Regularly check your dryer for belt wear or tears to prevent future problems.
Remember, understanding the issue with your Samsung dryer belt is the first step towards a successful repair.
Tools Required for Fixing Samsung Dryer Belt
Fixing your Samsung dryer belt may seem daunting, but with the right tools, you’ll be well-equipped to tackle the task efficiently. Here’s what you’ll need:
- Flathead screwdriver: Essential for opening the dryer cabinet and accessing the belt and drum.
- Phillips screwdriver: Used to secure components during disassembly and reassembly.
- 1/4-inch nut driver: Helps remove or tighten screws that hold various parts in place.
- Putty knife: Useful for gently prying apart components without causing damage.
- Needle-nose pliers: Handy for manipulating small parts and connectors within the dryer.
- Replacement Samsung dryer belt: Ensure you have the correct belt for your specific model.
- Work gloves and safety goggles: Protect your hands and eyes from any sharp edges or debris.
Having these tools at your disposal will make the belt replacement process smoother and more manageable. Remember, safety first when working on any appliance.
Recommended Products

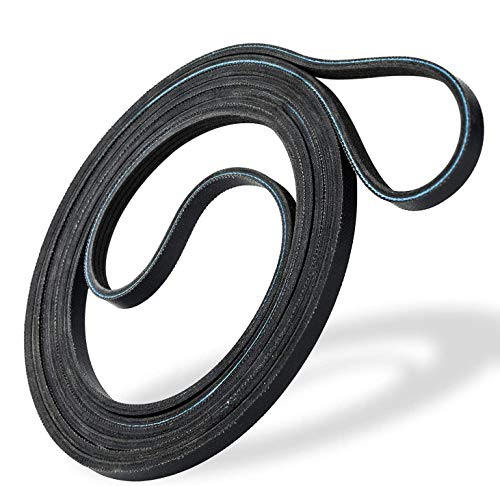
❤PREMIUM QUALITY: The upgraded samsung dryer repair kit made of premium quality material. The rollers are strong and wear-resistant, which make the dryer run stably and quietly. It designed with a high-quality rubber overall structure. The 6602-001655 dryer belt 92’’Length X 0.3’’Width. It is thickness is twice as thick as before and it is more durable. The center of the idler has a triangular design, which is more firm and stable. Meets OEM manufacturing requirements.
IDEAL FIT FOR MANY MODELS - 6602-001655 dryer belt is compatible with many popular branded dryers which include Samsung and Whirlpool.
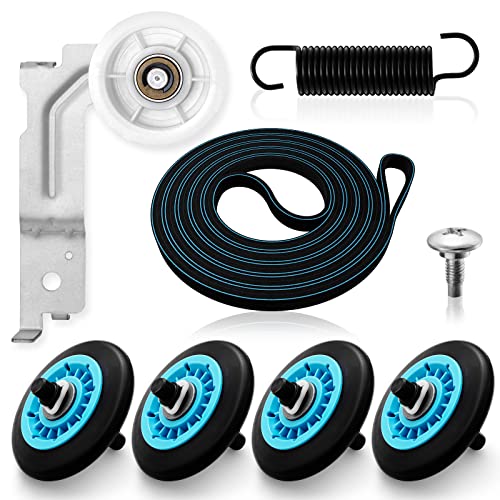
【MATERIAL UPGRADE】The samsung dryer roller replacement kit is designed with a high-quality rubber overall structure, which is strong and wear-resistant, not easy to crack. The samsung dryer roller bearing quality is more stable and quieter than ordinary bearings. The thickness of samsung dryer belt is upgraded and the length is standard. All samsung dryer repair kit has undergone strict quality inspection by the manufacturer---Meet OEM Samsung dryer parts standards.
Step-by-Step Guide to Replacing the Samsung Dryer Belt
When tackling the task of replacing your Samsung dryer belt, follow these simple steps:
- Unplug your dryer before starting any repairs to ensure safety.
- Open the dryer door to access the screws holding the top panel in place.
- Using a screwdriver, remove the screws and pull the panel off to expose the dryer belt.
Next, you need to:
- Disconnect the old belt by releasing the tension from the idler pulley.
- Slip the belt off the motor and idler pulley, ensuring you remember the belt’s configuration for reassembly.
Here’s what to do next:
- Install the new dryer belt by placing it around the drum where the old belt was positioned.
- Reattach the idler pulley by aligning it with the groove on the belt and applying pressure to create tension.
To complete the process:
- Rotate the drum by hand to ensure the belt is correctly positioned and won’t slip off during operation.
- Reattach the top panel by securing the screws, and plug in your dryer to test the new belt’s functionality.
Remember, with the right tools and a methodical approach, replacing your Samsung dryer belt can be a straightforward and rewarding repair job.
Testing the Dryer After Belt Replacement
After replacing the Samsung dryer belt, it’s crucial to test the appliance to ensure everything is working correctly. Here are some steps to follow:
- Plug in your dryer and run a test cycle without any clothes inside to check if the belt is functioning smoothly.
- Listen for any unusual noises that could indicate an issue with the belt installation.
- Observe the drum to make sure it rotates properly without any hitches.
- If the drum spins without problems, you’ve successfully replaced the dryer belt and can now enjoy its optimal performance.
By following these steps, you can confirm the successful replacement of the Samsung dryer belt and ensure your appliance works as intended.
Maintenance Tips to Prevent Future Issues
- Regular Cleaning: Clean the lint trap before each use to prevent blockages and ensure efficient performance.
- Inspect Vents: Regularly check and clean the dryer vents to avoid lint buildup, reducing the risk of fire hazards.
- Level the Dryer: Ensure the dryer is level to prevent excessive vibrations that could damage the belt over time.
- Avoid Overloading: Overloading the dryer puts strain on the belt and other components, leading to premature wear.
- Check Seals: Inspect door seals for any wear or damage, as this can impact the dryer’s effectiveness.
Conclusion
Keep your Samsung dryer running smoothly by following these maintenance tips. Regularly cleaning the lint trap, inspecting and cleaning dryer vents, ensuring the dryer is level, avoiding overloading, and checking door seals are simple steps to maintain efficiency and prevent future issues. By incorporating these practices into your regular routine, you can extend the life of your dryer and enjoy hassle-free laundry days. Remember, a little maintenance goes a long way in keeping your Samsung dryer in top condition.
Frequently Asked Questions
1. Why is it important to clean the lint trap regularly?
Regularly cleaning the lint trap prevents the buildup of lint, which can lead to reduced airflow, longer drying times, and even pose a fire hazard.
2. Why should I inspect and clean dryer vents?
Inspecting and cleaning dryer vents helps prevent blockages that can cause overheating, inefficient drying, and potential fire hazards.
3. How does ensuring the dryer is level help prevent damage?
Keeping the dryer level helps prevent excessive strain on the belt, ensuring it wears evenly and doesn’t break prematurely.
4. Why should I avoid overloading the dryer?
Overloading the dryer can lead to inefficient drying, increased energy consumption, and premature wear on the dryer components.
5. Why is it important to check door seals for wear or damage?
Checking door seals ensures proper closure, preventing heat loss during the drying cycle and maintaining the dryer’s efficiency.

Hi, I’m Charlie, and I cover all things laundry here at Appliance Mastery.
I’ve spent over eight years working on washing machines, dryers, and dishwashers. I also have a degree in mechanical engineering, which helps me understand how these appliances really work.
I try to make every guide clear and practical. If you’re stuck with a noisy dryer or a leaking washer, I’ll help you figure out what’s wrong and how to fix it.