
Ever wondered if installing a GE Profile dishwasher could be a smooth sail? Picture this: you’ve just purchased a shiny new GE Profile dishwasher, but now you’re faced with the daunting task of setting it up on your own. Don’t fret! In this article, we’ve got your back with a step-by-step guide that’ll make installation a breeze.
Imagine saying goodbye to the hassle of handwashing dishes and hello to more free time for yourself. By the end of this article, you’ll be equipped with the knowledge and confidence to install your GE Profile dishwasher effortlessly. Get ready to transform your kitchen experience and elevate your dishwashing game with ease.
Prepare for Installation
Before diving into installing your GE Profile dishwasher, it’s crucial to prepare adequately. Here’s how to get ready for a smooth installation process:
- Read the manual: Familiarize yourself with the dishwasher’s components and installation requirements.
- Gather tools: Get the necessary tools handy, like a screwdriver, adjustable wrench, level, and towels.
- Check connections: Ensure water, electricity, and drainage connections are easily accessible near the installation site.
- Measure space: Confirm the dimensions of the dishwasher and the space where it will be installed to guarantee a proper fit.
- Clear the area: Remove any obstacles near the installation site to make the process easier and safer.
- Protect flooring: Lay down towels or a protective layer to prevent floor damage during installation.
Taking these steps will set you up for a hassle-free GE Profile dishwasher installation.
Gather Necessary Tools
Here’s what you need to have at your fingertips before diving into the installation process of your GE Profile dishwasher:
- Screwdriver: To assist in securing the dishwasher in place.
- Adjustable Wrench: For ensuring all connections are tightly fastened.
- Channel Locks: Helpful for adjusting fittings and connections.
- Tape Measure: To double-check dimensions and ensure a proper fit.
- Level: Ensures the dishwasher sits evenly for optimal performance.
- Safety Gloves: Protect your hands when handling sharp edges.
- Safety Goggles: Safeguard your eyes from debris or splashing water.
Arm yourself with these tools to breeze through the installation of your GE Profile dishwasher.
Recommended Products

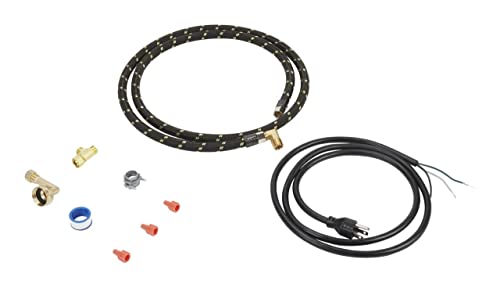
DISHWASHER INSTALLATION KIT: Includes a stainless steel braided supply line measuring 6 ft. in length with 3/8 in. compression x 3/8 in. compression connections, designed for compatibility with most standard dishwashers
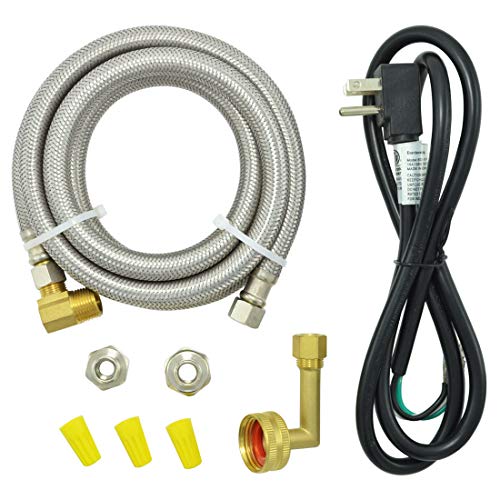
UNIVERSAL FIT - TT FLEX universal dishwasher installation kit provides everything you need in installing almost any brands of dishwashers to household water supply.All adapters included.
This product is a Factory Certified Accessory. These three words represent quality accessories designed specifically for your appliance. Time tested engineering that meets our strict quality specifications
Disconnect the Power and Water Supply
When disconnecting the power, locate the electrical panel and switch off the circuit breaker for the dishwasher. It’s important to prevent any electrical mishaps during the installation process.
Next, turn off the water supply to the dishwasher by shutting the water valve. This step ensures a smooth disconnect without any water leaks during the removal process.
Remember to unplug the dishwasher from the outlet to completely cut off power to the appliance. This simple step ensures your safety while handling the installation.
By disconnecting the power and water supply properly, you’re ensuring a safe and efficient installation process.
Position the Dishwasher
When positioning the GE Profile dishwasher, ensure it’s close to the water line and power source. Allow ample space for easy access during maintenance. Avoid positioning it too far from the sink to simplify plumbing connections. Confirm the dishwasher’s door can fully open without any obstructions to the surrounding area.
To prevent leaks, keep the dishwasher level. Adjust the feet if needed until it’s stable and even. Use a level tool to double-check the alignment. Tightly secure the dishwasher to the cabinet using screws to prevent shifting.
During installation, take note of the nearby cabinets. Ensure they don’t obstruct the dishwasher’s door when fully open. Create a clearance of about half an inch to allow unrestricted movement. Avoid squeezing the dishwasher into a tight space as it may hinder performance and maintenance.
Remember, proper positioning of the GE Profile dishwasher is crucial for optimal performance and ease of use.
Connect the Water Supply and Power
So, you’ve got your GE Profile dishwasher in place. Next up: connecting the water supply and power. Here’s how to get it done smoothly:
- Water Supply Connection:
- Connect the water supply line to the dishwasher’s water inlet valve.
- Use a wrench to tighten the connection securely.
- Turn on the water supply to check for any leaks. Adjust if needed.
- Power Connection:
- Locate the power source for the dishwasher.
- Carefully connect the dishwasher’s power cord to the power source.
- Make sure the connection is secure to avoid any electrical issues.
- Safety First:
- Always turn off the power supply before making any electrical connections.
- Be cautious and follow the manufacturer’s instructions carefully.
| Important Note | Remember |
|---|---|
| Double-check all connections to avoid leaks or electrical hazards. |
Recommended Products
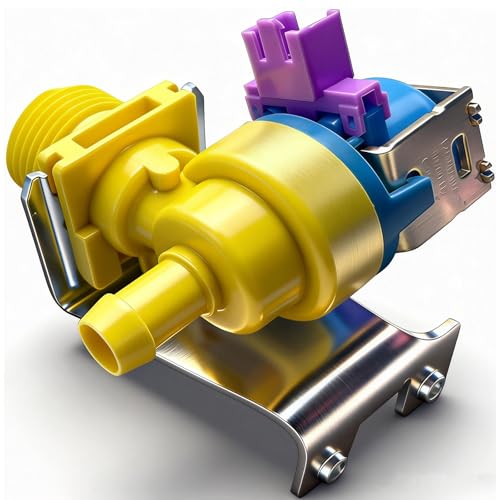
This WD15X26078 water inlet valve is engineered as a replacement for GE dishwasher models. It delivers upgrade water flow control and consistent pressure to ensure optimal washing performance, effectively solving poor water filling issues.

√√【PRODUCT SPECIFICATIONS】 : WD15X10014 Dishwasher Water Inlet Valve is suitable for dishwashers. Water inlet valve WD15X10014 supplies water to the dishwasher, and the solenoid valve connected to the valve depends on the amount of water required. WD15X10011 valve keep your dishwasher running smoothly at all times, WD15X10014 Water Inlet Valve for GE Dishwashers has a 3/8" internal threaded entrance. WD15X10014 ge water inlet valve operates at 120v

Product function: WD15X32008 dishwasher inlet valve is designed to replace the broken or damaged valve and ensure a steady water flow. It solves dishwasher water supply issues, including low water flow and leaks. Manufactured from high-quality materials for long-lasting use, preventing leaks and malfunctions.
Test the Dishwasher
Once you’ve connected the water supply and power, it’s time to test your GE Profile dishwasher to ensure everything is working correctly.
- Run a Test Cycle: Load the dishwasher with dishes and detergent as you normally would, then start a test cycle to check for any leaks or unusual noises.
- Monitor: Keep an eye on the dishwasher throughout the cycle to observe its performance and ensure all components are functioning as they should.
- Check for Leaks: Examine the area around the dishwasher for any signs of water leakage, which could indicate a problem with the installation.
- Verify Electrical Connections: Ensure that the power cord is securely plugged in and that there are no loose connections that could pose a safety risk.
Remember, proper testing is crucial to confirm that your GE Profile dishwasher is installed correctly and ready to use.
Conclusion
You’ve learned the key steps to successfully install your GE Profile dishwasher, ensuring it’s positioned correctly, connected securely, and tested for optimal performance. By following these guidelines, you can enjoy a hassle-free dishwasher that functions efficiently and reliably in your kitchen. Remember to prioritize safety, precision, and thorough testing to guarantee a seamless installation process. Now that you’re equipped with this knowledge, you can confidently set up your dishwasher with ease and peace of mind.
Frequently Asked Questions
Where should I position my GE Profile dishwasher for optimal installation?
Position your GE Profile dishwasher close to water and power sources, ensure access for maintenance, and level it properly to prevent leaks.
How do I securely connect the water supply and power to my GE Profile dishwasher?
Securely connect the water supply and power by following manufacturer instructions, using appropriate tools, and double-checking connections to prevent leaks and ensure safety.
What steps should I take to ensure my GE Profile dishwasher is correctly installed before regular use?
Test your dishwasher by running a test cycle, monitoring performance, checking for leaks, and verifying electrical connections to confirm correct installation.

Hi, I’m Charlie, and I cover all things laundry here at Appliance Mastery.
I’ve spent over eight years working on washing machines, dryers, and dishwashers. I also have a degree in mechanical engineering, which helps me understand how these appliances really work.
I try to make every guide clear and practical. If you’re stuck with a noisy dryer or a leaking washer, I’ll help you figure out what’s wrong and how to fix it.