
Tired of sweating buckets in your own home because your AC unit is on the fritz? Imagine finally being able to enjoy a cool, comfortable environment without the constant worry of a malfunctioning unit. In this article, you’ll discover the simple steps to replace your AC unit like a pro.
Say goodbye to costly repair bills and endless frustration with your unreliable air conditioner. By learning how to replace your AC unit yourself, you’ll not only save money but also gain the satisfaction of mastering a valuable skill. Get ready to take control of your indoor climate and ensure a breezy, stress-free summer ahead.
Assessing the Need for Replacement
When considering whether to replace your AC unit, there are a few key factors to keep in mind.
- Age of Your Current Unit: AC units typically last around 10-15 years. If yours is approaching this range, it might be time to think about a new one.
- Frequent Repairs: If you find yourself calling the repair person too often, the cost can add up quickly. Sometimes a new unit is more cost-effective.
- Energy Efficiency: Older units are less efficient. Upgrading to a newer model can save you up to 20% on cooling costs.
- Inconsistent Cooling: Are some rooms in your house cooler or warmer than others? This could indicate that your AC unit is struggling to maintain even temperatures.
- R-22 Refrigerant: Units using R-22 refrigerant are being phased out. If yours uses this, replacing it will help you avoid future headaches when it comes to finding replacement parts.
Assessing these points can help you determine if replacing your AC unit is the right move.
Choosing the Right Replacement Unit
When choosing a replacement AC unit, it’s essential to consider several key factors to ensure you make the best decision for your needs. Here’s a guide to help you select the right unit:
- Size Matters: Selecting the right size AC unit is crucial. Oversized units can lead to inefficient operation, while undersized ones may struggle to cool your space effectively.
- Energy Efficiency: Look for units with a high SEER rating to maximize energy efficiency and reduce electricity costs in the long run.
- Type of Unit: Decide between central AC systems and ductless mini-split systems based on your home’s layout and cooling requirements.
- Smart Features: Consider units with smart thermostats and Wi-Fi connectivity for convenient control and energy savings.
- Installation: Hire a professional HVAC technician for proper installation to ensure optimal performance and longevity of your new unit.
- Financial Incentives: Explore potential rebates or tax credits available for installing energy-efficient AC units to offset costs.
| Key Factors to Consider When Choosing a Replacement AC Unit |
|---|
| Size of the unit (avoid oversized or undersized units) |
| Energy efficiency (look for high SEER ratings) |
| Type of unit (central AC vs. ductless mini-split systems) |
| Smart features (smart thermostats, Wi-Fi connectivity) |
| Installation by a professional HVAC technician |
| Potential financial incentives (rebates, tax credits) |
Recommended Products

Please measure the size of the required hose before purchasing. My hose has a diameter of 5.1 inches/13cm!!!!!
Alternate part numbers include AP4538886, AH2577777, EA2577777, and PS2577777.
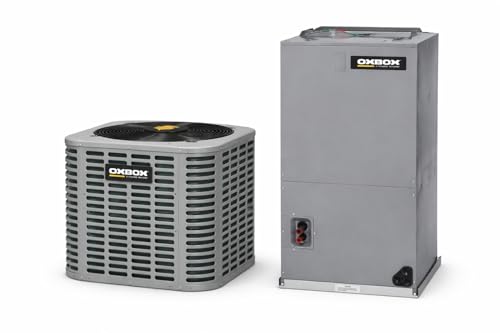
✔ COMPLETE AC SYSTEM WITH COIL – Includes 4 ton air conditioner (48,000 BTU cooling) and D-cabinet cased evaporator coil for full system installation
Gathering Necessary Tools and Materials
When it comes to replacing your AC unit, having the right tools and materials at hand can make the process smoother. Here’s what you’ll need:
- Screwdriver: Essential for removing panels and securing components.
- Pliers: Useful for bending and securing wires.
- Utility Knife: Great for cutting materials like insulation or duct tape.
- Measuring Tape: Helps ensure proper fitting of new components.
- Level: Ensures that the new unit sits evenly for optimal performance.
- Duct Tape: Handy for sealing connections and insulating ducts.
Before you start the replacement process, make sure to gather all the necessary tools and materials listed above. Being prepared will save you time and hassle along the way.
Removing the Old AC Unit
When it comes to removing your old AC unit, proper preparation and caution are key. Here are some steps to guide you through the process:
- Turn off the Power: Start by switching off the power to the unit at the breaker box to ensure safety.
- Disconnect the Wiring: Carefully disconnect any electrical connections to the unit.
- Remove Fasteners: Unscrew or unclip any fasteners holding the unit in place.
- Cut Refrigerant Lines: If applicable, use a tubing cutter to cut the refrigerant lines safely.
- Lift and Remove: With a helper, carefully lift and remove the old AC unit from its place.
Keep in mind, disposing of the old unit responsibly is crucial. You may need to contact a local waste management facility or HVAC professional for proper disposal.
For a seamless transition, it’s essential to meticulously follow each step, ensuring you handle the removal process safely and efficiently.
Recommended Products
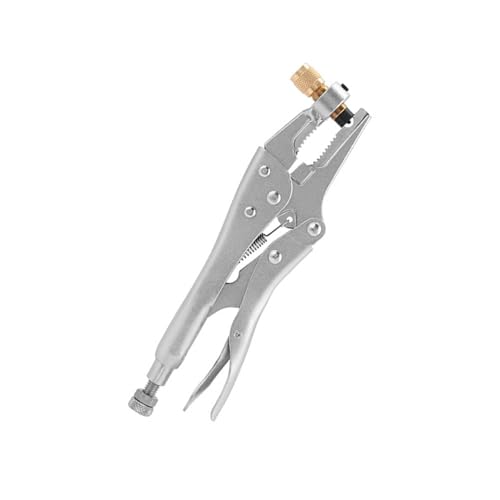
About Air Conditioner Refrigerant Recovery Pliers: Drill the cooling tube and recover the old coolant instantly.

Ideal for various types of soft pipes : PU, PE, Nylon Tube, etc.

♛Enhanced Work Efficiency: The design of the plier improves your overall work efficiency, allowing you to complete refrigerant recovery tasks quicker and with less hassle, making your projects more manageable.
Installing the New AC Unit
Now comes the exciting part – installing your new AC unit! Follow these steps for a smooth installation process:
- Preparing the Area:
- Clear the installation space of any obstacles. Ensure there’s enough room around the unit for proper ventilation.
- Place a protective pad under the unit to prevent damage and reduce noise.
- Mounting the Unit:
- Carefully lift the new AC unit into place, ensuring it sits level.
- Follow the manufacturer’s instructions for securing the unit in place.
- Connecting Wiring:
- Connect the electrical wires following the color-coding or specific instructions provided.
- Use wire connectors to secure the connections.
- Sealing and Insulating:
- Seal any gaps around the unit with weather-stripping to prevent air leaks.
- Insulate refrigerant lines to maintain efficiency and prevent condensation.
- Testing the Unit:
- Turn on the power and test the unit to ensure it’s functioning correctly.
- Check for proper airflow and cooling performance.
- Professional Assistance:
- If you’re unsure about any step, consult a professional HVAC technician for assistance.
- Safety is crucial, so always prioritize your well-being during the installation process.
Remember, a properly installed AC unit can provide years of comfort and energy efficiency for your home.
Conclusion
That’s it! You’ve now learned the essential steps to successfully replace your AC unit. By following the installation process outlined in this article, you can ensure a comfortable and energy-efficient cooling system in your home. Remember to prioritize safety, follow the manufacturer’s instructions carefully, and test the unit post-installation. Seeking professional help when needed is always a wise decision. With a well-installed AC unit, you can enjoy a cool and cozy environment while saving on energy costs. Good luck with your AC replacement project!
Frequently Asked Questions
How should I prepare the area for AC unit installation?
Clear obstacles from the area and use a protective pad.
What is involved in mounting the AC unit?
Lift carefully, ensure it is level, and secure following manufacturer’s instructions.
Why is connecting the wiring correctly important?
Correct wiring ensures proper functionality.
What should I do after installing the unit?
Test the unit to ensure proper functionality.
Why is seeking professional assistance recommended?
Professionals ensure safety and proper installation.
How can a well-installed AC unit benefit me?
Long-term comfort and energy efficiency.

Hi, I’m Charlie, and I cover all things laundry here at Appliance Mastery.
I’ve spent over eight years working on washing machines, dryers, and dishwashers. I also have a degree in mechanical engineering, which helps me understand how these appliances really work.
I try to make every guide clear and practical. If you’re stuck with a noisy dryer or a leaking washer, I’ll help you figure out what’s wrong and how to fix it.