
Ever found yourself staring at your built-in fridge, wondering how on earth you’re going to get it out? It’s like a puzzle you never asked for. But don’t worry, you’re not alone in this. Many have faced the same head-scratching dilemma.
Picture this: You’ve decided it’s time for an upgrade, but that bulky built-in fridge is standing in the way of your kitchen dreams. The struggle is real.
Assessing the Situation
When tackling the removal of a built-in fridge, the first step is to assess the situation carefully. Here are some key points to consider:
- Measure the fridge dimensions and the space available for removal
- Check for any electrical or plumbing connections
- Assess the weight of the fridge and plan for proper equipment or assistance if needed
Before proceeding, ensure you have a clear understanding of the challenges ahead.
Gathering the Necessary Tools
When it comes to removing a built-in fridge, having the right tools at your disposal is crucial. Here’s a breakdown of what you’ll need:
- Measuring tape: Ensure you have accurate measurements of the fridge and the space it occupies.
- Screwdriver set: Useful for removing any screws securing the fridge in place.
- Adjustable wrench: Needed for disconnecting water supply lines, if applicable.
- Appliance dolly: Helps in safely transporting the heavy fridge.
- Work gloves: Protect your hands during the removal process.
Having these tools ready will make the task of removing a built-in fridge much smoother.
Recommended Products

Keep food fresh for longer : The produce saver containers have a sealed environment built with the colanders and locks. Making it easy to rinse and filter out the water on the surface of vegetables and fruits to reduce food spoilage. Extending products fresh for a longer time and reducing shopping frequency.
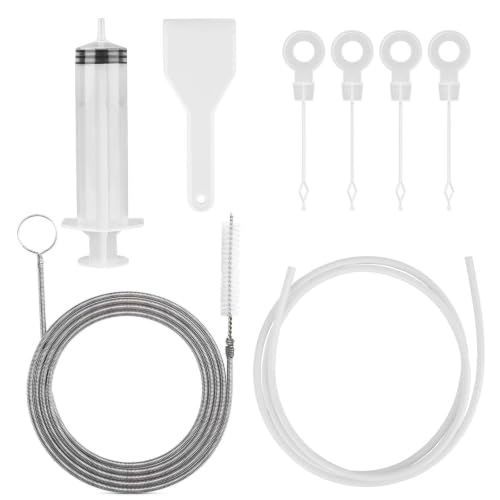
Fridge Drain Clog Cleaning Tool Kit: The refrigerator drain cleaning tool is suitable for not only is it used for fridge water line cleaner, fridge drain hole cleaning tool also can be used for car sunroofs drain holes, car door drain holes, kitchen sink holes, air conditioning drain holes, fish tank oxygen pipes, etc. clean narrow pipes that are hard to touch

3-Level Power + 45,000Hz Ultrasonic — Clean More, Damage Less — Choose from 3 adjustable power levels to match your item's needs. Whether it's delicate pearl-set earrings or sturdy watch straps, 45,000Hz high-frequency waves lift dirt from every crevice without scratching or bending. Precision cleaning, zero guesswork.
Disconnecting the Power and Water Supply
When removing a built-in fridge, the first step is to disconnect both the power and water supply to ensure safety and avoid any potential damage. Here’s how you can do it:
- Turn off the power: Locate the power source for the fridge and switch it off. This step is crucial to prevent any electrical accidents during the removal process.
- Disconnect the water supply: If your fridge has a water line for the ice maker or water dispenser, locate the shut-off valve. Turn it clockwise to shut off the water supply and disconnect the line.
- Remove any plugs: Unplug the fridge from the power outlet and ensure that the cord is out of the way to avoid tripping hazards.
- Consider safety measures: It’s essential to wear rubber gloves and safety goggles when dealing with electric and water connections to protect yourself from any accidents.
By following these steps, you can safely disconnect the power and water supply from your built-in fridge before proceeding with its removal.
Removing the Doors and Shelves
When Removing the Doors and Shelves of your built-in fridge, you’ll need to follow a few steps to ensure a smooth process:
- Empty the Fridge: Start by removing all items from the fridge and store them in a cool place.
- Remove the Shelves: Take out the shelves by lifting them up and pulling them towards you.
- Detach the Door: Open the door to a 90-degree angle, lift it up, and pull it off its hinges. Remember to support the weight of the door as you remove it.
With these steps, you can prepare the fridge for the next stages of removal.
Recommended Products
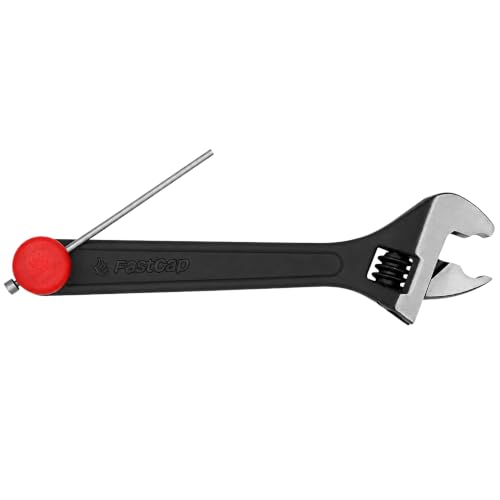
Adjustable to Any Hinge Size - The Knuckle Bender’s adjustable design makes it easy to adjust any sagging door, whether you’re working with small or large hinges, ensuring accurate results every time.

【1-INCH HARDENED STEEL PIN】Includes a 1-inch nickel-plated hardened steel pin designed to withstand repeated hammer strikes. The durable metal punch provides the strength needed to work on stubborn hinge pins without relying on a soft plastic contact point.

Replacement Parts for Samsung: Refrigerator door height adjustment kits is perfect replacements for part numbers DA99-04158A (AP5668209), 3282540, DA60-00314C, and PS6448337. It is compatible with most models of Samsung refrigerators. (This product is not sponsored, endorsed, or affiliated with Samsung. Please check before purchase.)
Extracting the Built-in Fridge
To safely extract a built-in fridge, follow these essential steps:
- Prepare the Area: Clear out any items in and around the fridge to create a safe working space.
- Disconnect Power and Water: Turn off the refrigerator and unplug it from the power source. If it’s connected to a water supply, shut off the water valve.
- Remove the Trim and Fasteners: Locate and remove any screws or bolts securing the fridge in place. Carefully detach any decorative trim around the fridge.
- Slide Out the Fridge: Gently slide the fridge out of its enclosure, ensuring you have someone to help support the weight if needed.
- Clean Behind the Fridge: Take this opportunity to clean the space behind the fridge, removing any dust or debris.
- Inspect for Damage: Check the walls and flooring for any damage that may have occurred during the extraction process.
Following these steps ensures a smooth and safe removal of your built-in fridge.
Conclusion
You now have a clear understanding of how to safely remove a built-in fridge in your kitchen. By following the step-by-step guide provided in the article, you can ensure a smooth extraction process without any complications. Remember to prioritize safety by disconnecting power and water supplies before starting the removal process. Cleaning behind the fridge and inspecting for any damage are essential steps to complete the removal successfully. With these precautions in mind, you’ll be able to upgrade your kitchen with confidence, knowing that you’ve handled the removal of the built-in fridge efficiently.
Frequently Asked Questions
How do I safely extract a built-in fridge during a kitchen upgrade?
To safely extract a built-in fridge during a kitchen upgrade, follow these steps:
- Disconnect power and water supplies.
- Remove trim and fasteners securing the fridge.
- Slide out the fridge carefully.
- Clean the area behind the fridge.
- Inspect for any damage before proceeding further.

Hi, I’m Charlie, and I cover all things laundry here at Appliance Mastery.
I’ve spent over eight years working on washing machines, dryers, and dishwashers. I also have a degree in mechanical engineering, which helps me understand how these appliances really work.
I try to make every guide clear and practical. If you’re stuck with a noisy dryer or a leaking washer, I’ll help you figure out what’s wrong and how to fix it.