
Replacing the light in a Whirlpool refrigerator is a straightforward task that can be completed in a few simple steps. You will need basic tools and a replacement bulb to ensure proper illumination inside your fridge.
Essential Tools for Whirlpool Light Replacement
Replacing the light in your Whirlpool refrigerator requires specific tools to ensure a smooth and efficient process. Having the right equipment on hand not only simplifies the task but also minimizes the risk of damage to your appliance. This section outlines the essential tools you will need to successfully complete the light replacement.
Before starting the replacement process, gather the essential tools and supplies. This ensures you have everything at hand, making the task efficient and hassle-free.
Replacement bulb: Check your refrigerator model for the correct type.
Screwdriver: A flathead or Phillips screwdriver depending on your model.
Gloves: To protect your hands from sharp edges.
Towel: To catch any falling debris or glass.
Recommended Products

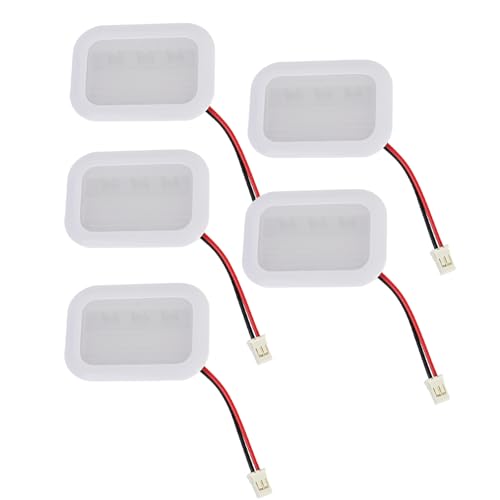
NO-HEAT BULB FOR REFRIGERATOR: A waterproof alternative to heat-emitting bulbs, Vgogfly refrigerator light bulb emits not the usual blue-white light, but pure white light. It not only brightens your fridge or freezer but also gives it a new life

【ENERGY SAVING】:ENERGY SAVINGS: 4w refrigerator lamps replace 40w traditional incandescent lamps, enjoy bright lighting while dramatically lowering your electricity bill, saving 90% of energy

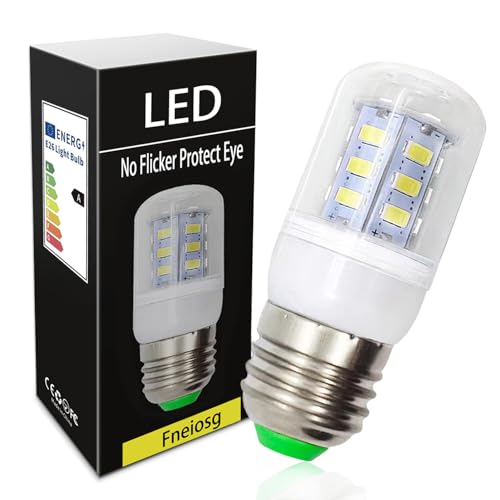
W11251749 Freezer Light Bulb Capacity 30-32V, (4.2W/60HZ, 120VAC/52mA ), LED bulb for installation in cabinets to illuminate the inside of a fridge or freezer. It can effectively solve the problems of dimming, flickering, not bright and short-circuit, etc. It is made of high quality material to ensure even light, energy saving, no shadow, strobe to ensure the refrigerator is brighter and more efficient
Whirlpool Refrigerator Light Replacement Preparation
Before diving into the process of replacing the light in your Whirlpool refrigerator, it’s essential to gather the necessary tools and materials. Proper preparation ensures a smoother experience and minimizes the risk of damage. This section will outline the steps to take before you begin the actual replacement, setting you up for success.
Preparation is key to a successful light replacement. Follow these steps to ensure safety and efficiency.
Unplug the refrigerator: Disconnecting power prevents any electrical hazards.
Remove food items: Clear the area around the light fixture for easy access.
Wear gloves: Protect your hands from sharp edges or broken glass.
Whirlpool Refrigerator Light Replacement Safety Tips
Replacing the light in your Whirlpool refrigerator can enhance visibility and improve your kitchen’s functionality. However, safety should always be a priority during this process. The following tips will help you navigate the replacement with confidence while minimizing risks associated with electrical components and potential hazards.
Taking safety precautions is crucial when working with electrical components. Follow these guidelines to avoid accidents.
Always ensure the refrigerator is unplugged before starting.
Use gloves to prevent cuts from broken bulbs.
Avoid using excessive force when removing the light cover.
Whirlpool Refrigerator Light Replacement Steps
Replacing the light in your Whirlpool refrigerator is a straightforward process that can enhance visibility and improve your appliance’s efficiency. This guide outlines the essential steps to safely and effectively change the light bulb, ensuring your refrigerator remains well-lit and functional. Follow these instructions to complete the task with confidence and ease.
Now that you are prepared, follow these detailed steps to replace the light in your Whirlpool refrigerator.
Locate the light cover: Identify the light fixture, usually found on the ceiling or side wall of the fridge.
Remove the light cover: Use a screwdriver to unscrew or gently pry off the cover.
Take out the old bulb: Twist the old bulb counterclockwise to remove it.
Install the new bulb: Insert the new bulb and twist it clockwise until secure.
Reattach the light cover: Secure the cover back in place with screws or clips.
Plug in the refrigerator: Restore power and check if the new bulb works.
Recommended Products
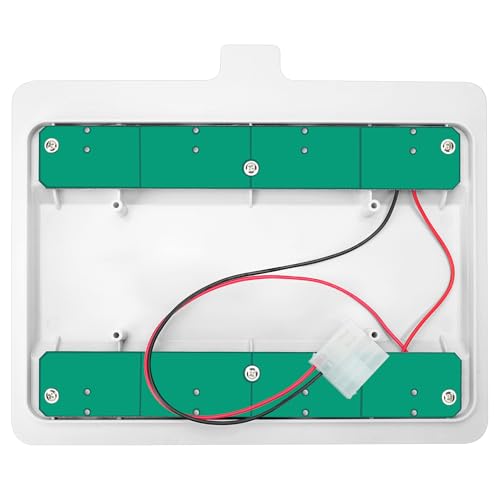
Compatible Model:W11043011 Refrigerator LED Light replacement compatible with Whirlpool WRX735SDHZ00 WRX735SDBM04 WRX735SDBE02 WRX735SDBH02 WRX735SDHB00 WRX735SDHV00 WRX735SDHW00 WRF555SDFZ03 WRF555SDHV01 WRF555SDFZ04 WRF555SDFZ07 WRF555SDFZ05 WRF555SDFZ08 WRX735SDHZ01 WRF555SDHW00 WRF555SDHB00 WRF555SDHV02.Also compatible with Maytag MFI2570FEB01 MFI2570FEW01 MFI2570FEZ03 MFI2570FEZ04 MFI2570FEZ05 MFI2570FEZ06.For Amana AFI2539ERB02 AFI2539ERM03 AFI2539ERW02,For Ikea IX7DDEXGZ001 IX7DDEXGZ002
Easy to install: This Obida W11483116 refrigerators LED light module is suitable for Whirlpool refrigerator light module, which are installed inside the refrigerator for easy installation. Before installation, we must turn off the power, prepare a screwdriver, and wear gloves.

【Frigidaire Refrigerator Light Bulb】40 Watt light bulbs compatible with Frigidaire, Kenmore, Kenmore Elite, Electrolux, Gibson, Crosley, Kelvinator, Kenmore Pro etc most refrigerator. Also widely used in kitchens,cabinets,garages,basements, bedrooms and bathrooms.
Whirlpool Refrigerator Light Replacement Problems
Replacing the light in your Whirlpool refrigerator can sometimes present challenges that may not be immediately obvious. Common issues include difficulty accessing the bulb, compatibility concerns with replacement parts, and troubleshooting electrical problems. Understanding these potential hurdles can help streamline the replacement process and ensure your refrigerator is back to optimal functionality.
Sometimes, issues may arise during or after the replacement process. Here are common problems and solutions.
Light does not turn on: Ensure the bulb is properly installed and check the power supply.
Flickering light: This may indicate a loose connection; check the bulb and socket.
Burnt-out bulb: If the new bulb burns out quickly, inspect the wiring for damage.
Whirlpool Refrigerator Light Maintenance Tips
Maintaining the light in your Whirlpool refrigerator is essential for both visibility and energy efficiency. Regular checks and timely replacements can prevent dim lighting and ensure your appliance operates optimally. This section offers practical tips to help you keep your refrigerator’s lighting in top condition.
Regular maintenance can prolong the life of your refrigerator light. Implement these tips for optimal performance.
Check bulbs regularly: Inspect the bulbs every few months for any signs of wear.
Clean the light fixture: Dust and debris can affect brightness, so clean the fixture periodically.
Use the correct bulb type: Always replace with the recommended bulb for your model.
Recommended Products
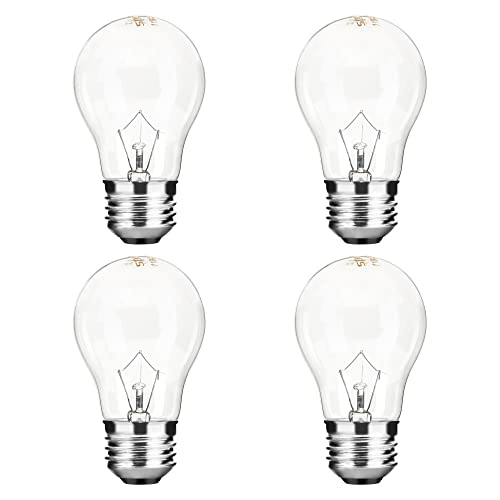
40W A15 appliance light bulb can be used as appliance parts replacement bulb in oven, refrigerator, under microwave, over stove range hood lava lamp, an replacement of OEM bulb item:15206, 48706, 83645, 40A15, 4396822, 8009, 10181, 10034, 9570, 5032-6.
【Product size】the E27 and E26 bases are compatible with various appliances. The bulb is E27 (1in). It is NOT compatible with small E17 or E12 bases or very low freezer lamp covers. Please compare our size picture with your old bulb and lamp cover before purchase.

MODEL NUMBER: 8206232A Bulb 40w 125v E17 Microwave Oven Light (non-dimmable) Notes: 8206232A light bulb is made of glass. If you receive damaged light bulb, please contact us for refund or replacement. 8206232A light bulb, E17 Represents base size(16.28mm/0.64in), Refer to the size of the light bulb in your home to buy the right part
Whirlpool Refrigerator Light Issues Explained
Understanding the common light issues in Whirlpool refrigerators is essential for effective troubleshooting. These problems can range from a burnt-out bulb to faulty wiring, each requiring a different approach for resolution. This section will delve into the typical causes of light failures and provide insights into how to identify them.
| Symptom | Primary Suspect | Difficulty 1-5 |
|---|---|---|
| Light does not turn on | Faulty bulb or socket | 2 |
| Flickering light | Loose connection | 3 |
| Bulb burns out quickly | Incorrect wattage bulb | 4 |
Whirlpool Refrigerator Light Replacement Verification
After replacing the light in your Whirlpool refrigerator, it’s essential to verify that the new bulb is functioning correctly. This step ensures that your appliance operates efficiently and provides the necessary illumination. Follow the outlined procedures to confirm that the light replacement was successful and your refrigerator is back to optimal performance.
After replacing the light, ensure everything is functioning correctly.
Check the light’s brightness and stability.
Observe for any unusual noises or flickering.
If issues persist, consider consulting a professional technician.
By following these steps, you can effectively replace the light in your Whirlpool refrigerator with minimal hassle.

Hey, I’m Jake. I focus on cooling systems at Appliance Mastery, like fridges, freezers, and air conditioners.
I’ve worked in appliance repair for more than ten years and I’m certified through NASTeC. I’ve seen just about every fridge issue you can imagine.
My goal is to help you fix problems without stress. Whether it’s a freezer that won’t cool or an AC that keeps beeping, I’m here to walk you through it.